Any device’s full potential may often be unlocked by having a keen eye for the hidden gems beneath the surface; the iPhone’s hidden functions are no different.
Your iPhone has many hidden treasures that are just waiting to be discovered, from iMessage features to brighten every conversation to generation-specific features that maximize the technology in any particular iPhone.
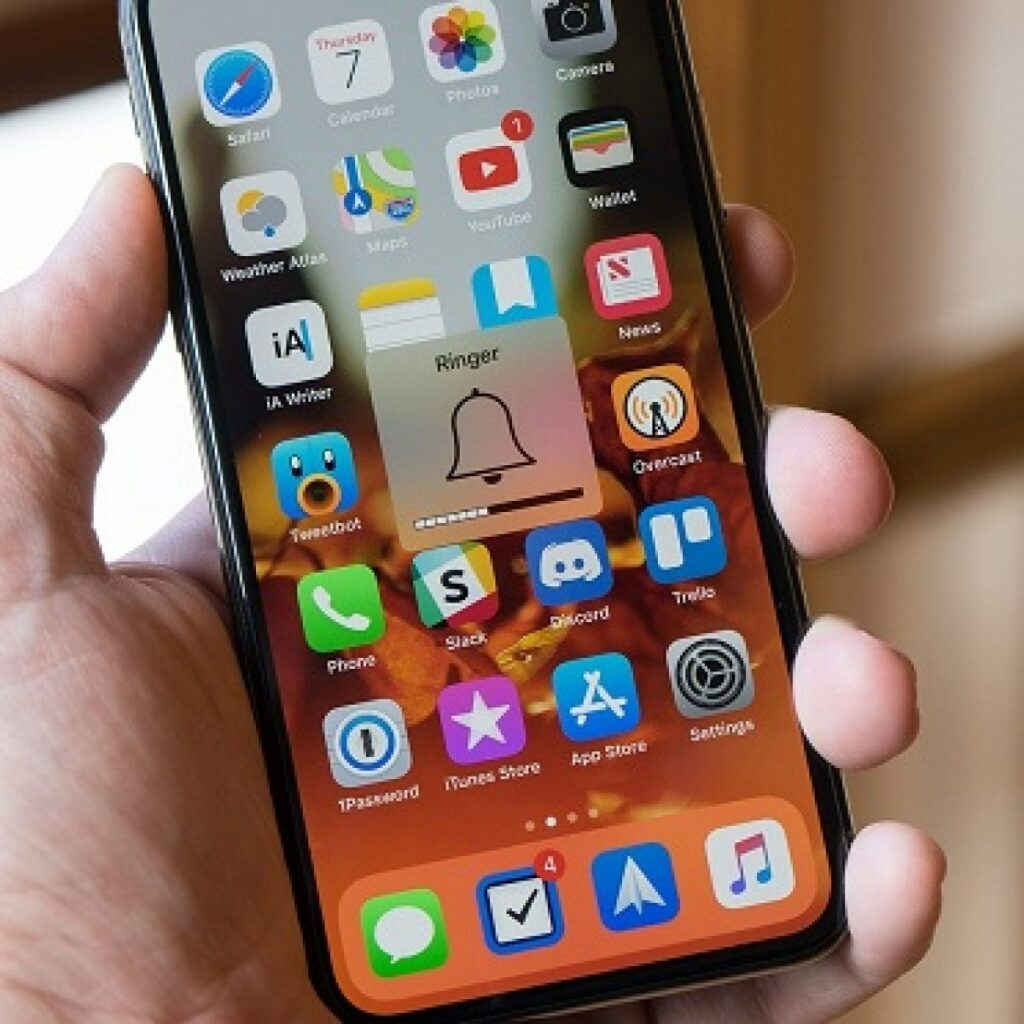
A set of volume buttons is a characteristic that is common to all iPhone models. Unlike many Android phones, which only have one volume button, the iPhone has featured two different volume buttons since its original release.
The two buttons on the left side of the iPhone are used for functions other than volume control.
Like so many other locations, the phone’s buttons can be utilized for non-volume operations in addition to a few useful chores that can be accessed with their assistance.
Whether you’re a photography enthusiast seeking tactile finesse, a safety-conscious person needing quick access to emergency services, or someone who longs to have a physical snooze button again, the iPhone’s volume buttons offer a range of interactions that go far beyond their seemingly straightforward purpose.
When seconds count, the SOS feature on the iPhone helps users to rapidly summon help in an emergency.
By just holding down the side button and either volume button, the device can check the owner of the phone’s Medical ID or start an SOS emergency call.
Help is always available with this modest but impactful gesture, especially in difficult situations.
The SOS feature can also be triggered by quickly pressing the side button five times in a succession, however this needs the feature to be enabled in the settings.
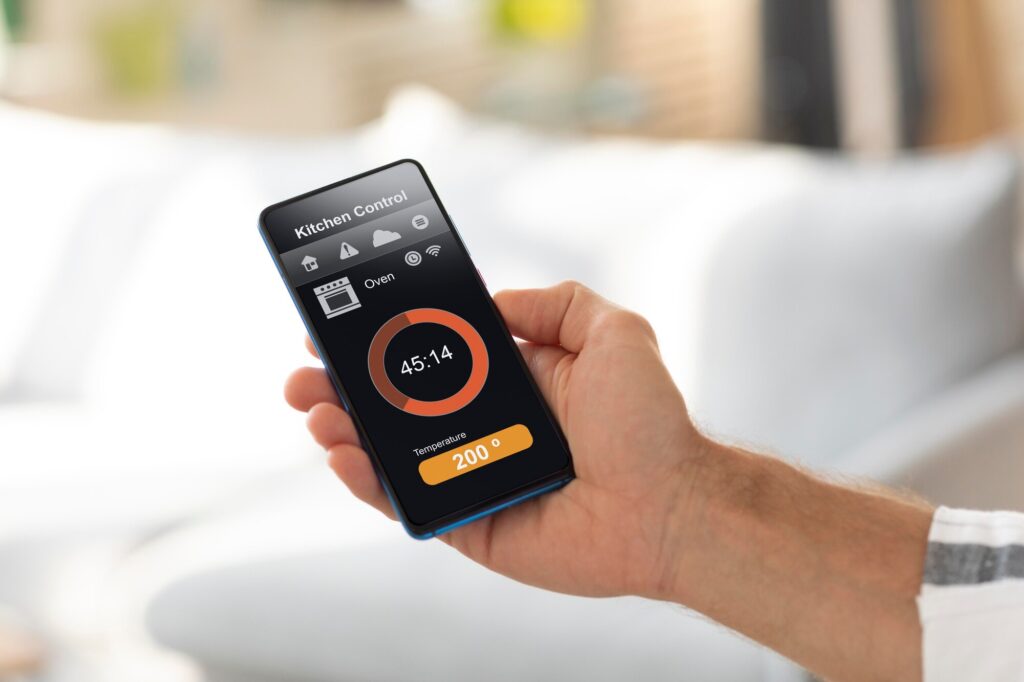
The iPhone 14 Pro line enhances the iPhone’s powerful SOS features with satellite capabilities for scenarios when cellular connection is spotty.
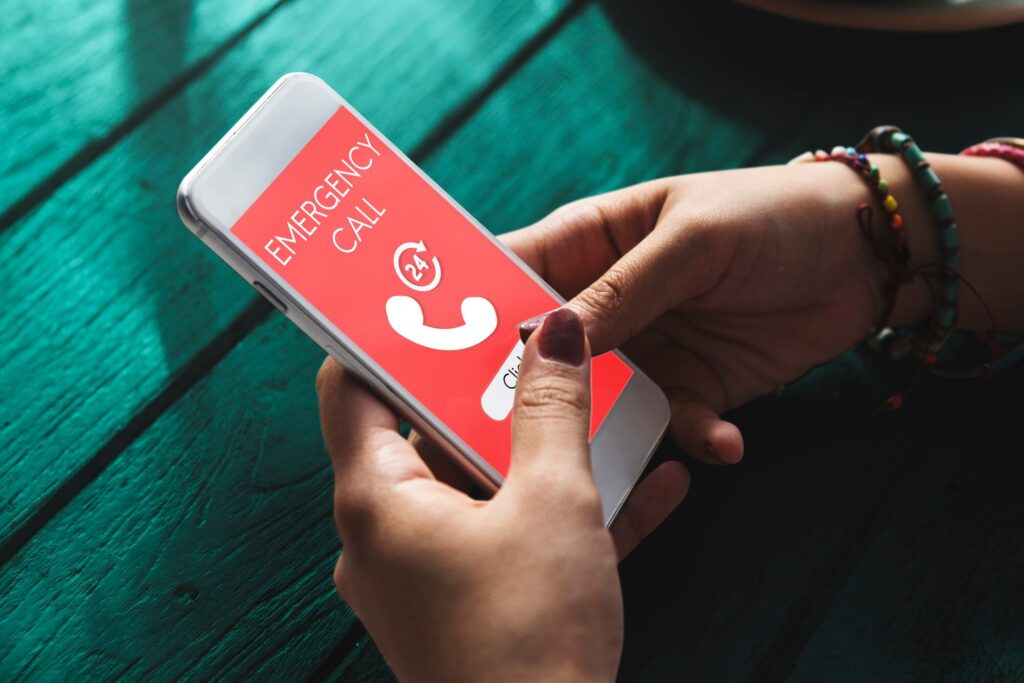
When you make an SOS call, your phone notifies your approved emergency contacts of your location and the circumstances using the information you provide in the Medical ID section of the Health app.
With regard to Medical ID, users can store their emergency contacts, allergies, critical medical information, and other details in this function.
In an emergency, anyone can access this information. Even if your phone is locked, the Medical ID is still accessible for first responders’ use.
Switching off the power and more
Beyond emergency services, another important feature of the iPhone could be accessed by briefly depressing the side and volume down keys.
The menu that offers access to Medical ID and the emergency call slider is where you’ll find the power-off slider. Turning off the iPhone is done by using the designated slider.
Users may also use this screen to disable the Find My function on their phone when it is in sleep mode. Just below the power-off slider, there’s a popup to turn off Find My.
Find My Device will no longer work if the device’s setting is disabled through the power off menu; you will need to restart it and enter the passcode again to locate it.
This control layer significantly improves device security by granting users control over their location data even when their phone is off.
However, this feature is more intricate than it seems. Using the volume buttons to access the power-off menu has a security risk. The power off slider displays, briefly deactivating the Face ID and Touch ID functions.
This ensures the gadget can’t be turned off and prevents someone else from being able to forcibly access it when locked.
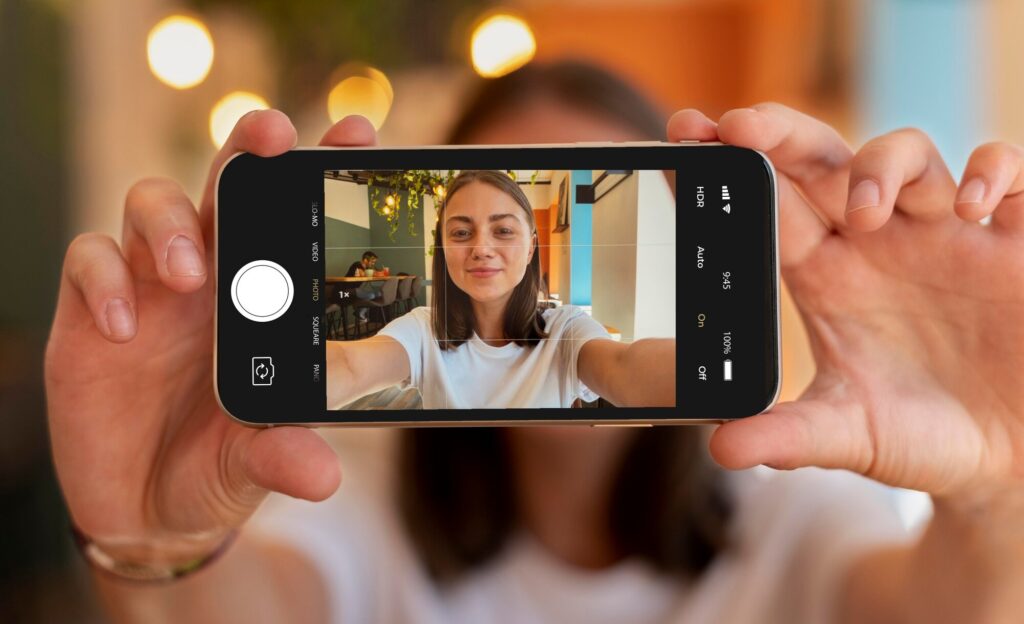
controls for the camera
Contemporary smartphones are renowned for their capacity to swiftly and effortlessly capture moments, with the iPhone outperforming rival flagship devices in terms of camera capability.
One of the more widely known features of smartphone camera apps is the ability to use volume controls.
While some Android devices allow users to zoom in, the primary purpose of the volume keys on the iPhone is to capture images.
Instead of fumbling with the on-screen shutter button, users may snap instant images by simply pushing the volume up or down button.
This small function mimics the feel of a traditional camera, offering a cozy, tactile experience that some users might find more acceptable.
Moreover, this feature is not limited to shooting photos. To start recording a video, you can also utilize the camera app’s volume buttons.
Because it provides users with control and stability during the process, allowing them to grasp onto the device steadily and capture dynamic footage, this function is very handy for recording video material.
A video recorder’s volume buttons are helpful for purposes other than merely starting a recording. If the iPhone’s camera app is still set up to capture images, you can use either volume button to begin a quick shot movie.
Users merely need to release the button to stop recording. You may also press and hold the volume up button to switch it to “Photo Burst” in the Settings app.
The Notes app’s document scanning feature and the Camera app both utilize the volume buttons for taking photos.
When scanning a document into the iPhone, users do not have to wait for the device to properly frame the document. As an alternative, you can snap a picture of anything that’s visible in the scanner’s viewfinder by pressing either volume button.
With enough time and work, such scans can be edited to appear as precise as what the iPhone can accomplish automatically.
Alarm mechanisms
It can be a surprising habit to turn off the alarm in the morning. Apple has given its users the chance to go back in time to a simpler time when they are trying to snooze their alarm in the morning.
You can immediately stop the alarm when it goes off by using the volume up or down button. This will spare you the trouble of looking for the on-screen button and give you some alone time while you get ready for the day. This method of using the volume controls also applies to vibrating, quiet alarms.
Using the volume buttons to snooze occasionally proves to be more convenient than reaching for the snooze or smaller dismiss button first thing in the morning.
Similar to the snooze button, the volume buttons are likewise simpler to reach in the early morning mist.
Slapping the enormous snooze button on an equally gigantic alarm clock radio combo doesn’t exactly feel the same.
Remember that you must first ensure that snoozing is enabled before using the volume buttons to snooze an alarm.
If the snooze setting is not enabled for an alarm, the volume buttons will simply refuse it. The alarm is programmed to sound again at the next specified time.
Turning off phone calls and locating my
Picture this: a quiet moment or a crucial meeting cut short by a ringing phone. It doesn’t happen very infrequently. It’s simple to periodically forget to switch off your phone or even to switch it back on by accident.
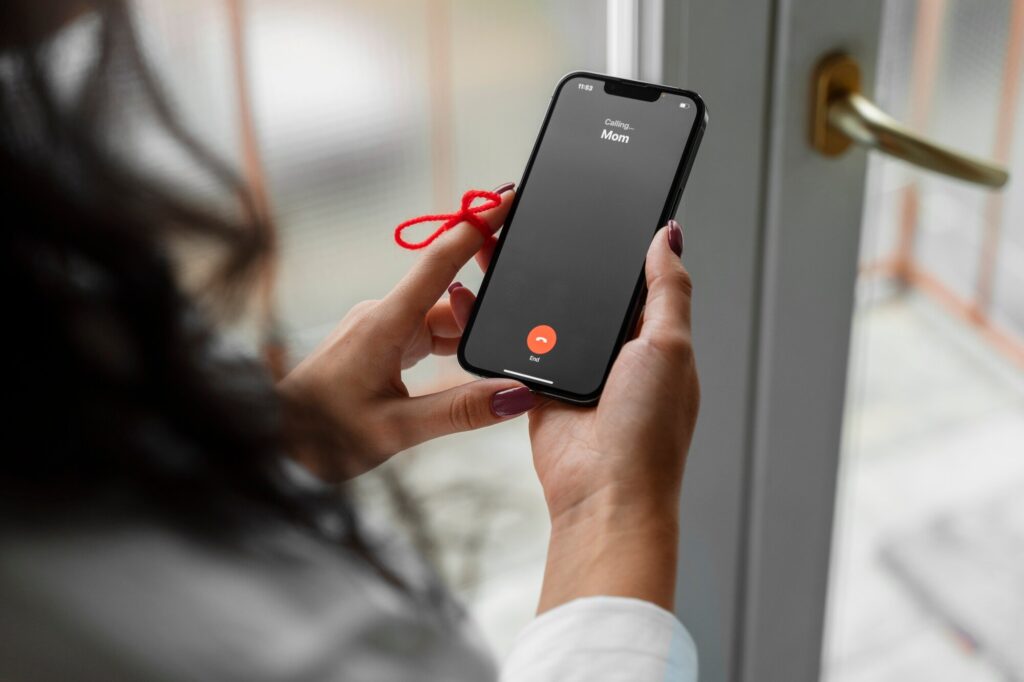
The volume buttons on your iPhone soon create a barrier between you and anyone close and the ringtone you’ve selected when you receive one of these unpleasant robocalls. In far harsher situations, you can use the power button to reject or end a call.
The ringing phone can be muffled with a single press of either volume button. Using the volume button to end an unwanted call makes sense.
Controlling Find My notifications on the iPhone also heavily relies on the volume buttons.
The iPhone uses new buttons to secure your relationships and belongings in a world where those things are vital.
The position of your second Apple device can be found by pressing either volume button quickly to quickly muffle the otherwise loud warning when something close sends out a Find My notification.
As a result, receiving notifications is more manageable.
App features
Despite Apple’s best efforts to stop it, iPhone volume buttons can be utilized as tools for other app interactions.
the inventive usage of volume buttons in non-Apple apps—a feature that is usually free from Apple’s stringent constraints despite its usability.
By using this repurposing, a number of software developers have provided users with instantaneous shortcuts or actions, providing a haptic and seamless alternative to traditional on-screen taps.
One particularly straightforward approach is to utilize a counter app that allows users to tick up or down dependent on whether they use the volume up or down button.
However, employing volume buttons in non-Apple apps is a technique that should be utilized cautiously due to Apple’s app development constraints.
Maintaining a consistent user interface and preventing hardware control abuse—which can possibly mislead users or obstruct normal interactions—are given top attention in these standards.
Apple usually forbids developers from altering the functionality of hardware buttons in their apps as a result.
While some programs are able to effectively integrate volume button functionality while adhering to Apple’s standards, these instances are still quite uncommon due to the challenges these constraints pose.
Not only can developers not modify the behavior of the volume buttons, but users are also not allowed to use the volume buttons to run commands that were developed within the Shortcuts app.
But not everyone has been deterred by that. The volume buttons on your phone can theoretically be used to create shortcuts, but doing so involves using a complicated workaround function that connects an action to the volume.
Restart with force
At some time, everyone has either attempted or heard the sage advise to simply turn their device on and off again. Using the volume buttons to force an iPhone reset is a quick and simple solution in many cases.
When the device becomes unresponsive, sluggish, or has software problems, this can function as a reset to help restore it to a better state.
Users can force a restart by simultaneously pushing and holding the side button, the volume up and down buttons, and the volume down button.
The volume buttons here can be used to reach the shut-down menu, but the iPhone can also be turned off without the need for a slider by holding down the side button.
After turning off their phone, users still need to push and hold the side button down until they see the Apple logo on the screen.
Boy Decorates the House of a Lonely Old Lady for Halloween to Convince Her That the Holiday Is Worth Celebrating

Halloween was his favorite day of the year—a day when you could become anyone you wanted, and the world transformed into something magical.
As Kevin wandered down the street, he admired the glowing decorations and spooky scenes set up in each yard. Witches cackled, doors creaked, and the sounds of Halloween filled the air. But one house stood out, not because it was spooky, but because it was completely dark. No pumpkins, no cobwebs—nothing. It was Mrs. Kimbly’s house.
Mrs. Kimbly was the quiet, older woman who lived alone. Kevin had mowed her lawn in the summer and shoveled her driveway in the winter, but she rarely said much beyond handing him his payment. Now, her undecorated house seemed out of place in the festive neighborhood.
Why hadn’t Mrs. Kimbly decorated for Halloween? Kevin couldn’t shake the feeling that something wasn’t right. Halloween was supposed to be fun, and he didn’t think anyone—especially someone living alone—should miss out.
Determined to help, Kevin crossed the street to her house. Leaves crunched under his sneakers as he approached her front door. He hesitated for a moment, then knocked. After a long pause, the door creaked open, revealing Mrs. Kimbly. Her face was stern, her eyes narrowed behind thick glasses.
“What do you want, Kevin?” she asked, her voice gruff.
Kevin swallowed nervously. “Hi, Mrs. Kimbly. I noticed your house isn’t decorated for Halloween, and I thought maybe you forgot. I could help, if you’d like.”
Her expression hardened. “I didn’t forget,” she snapped. “I don’t need decorations, and I don’t need your help. Now, go away.” She moved to close the door.
Kevin’s heart sank, but he wasn’t ready to give up. “I could do it for free!” he blurted out. “You wouldn’t have to do anything.”
But Mrs. Kimbly scowled and slammed the door. Kevin stood there, stunned. How could anyone hate Halloween that much? He knew her house would likely become a target for pranks if it stayed undecorated, and he didn’t want that to happen.
As Kevin walked home, an idea began to form. He wasn’t ready to give up on Mrs. Kimbly just yet.
At home, Kevin found his mom stirring a pot of soup in the kitchen. “Mom, something strange happened,” he said, sitting down at the table. He explained about Mrs. Kimbly’s dark house and how she had slammed the door in his face.
But when he mentioned Mrs. Kimbly’s name, his mom’s expression softened. “Maybe you should leave her alone,” she suggested gently. “People sometimes have reasons for doing things we don’t understand.”
Kevin frowned. “But, Mom, I think she’s not mad—I think she’s sad. Halloween is supposed to be fun, and I don’t want anyone to feel left out.”
His mom smiled softly. “You have a big heart, Kevin. Just remember, some people aren’t ready for help, even if they need it.”
Her words lingered in his mind, but Kevin still felt like Mrs. Kimbly was just lonely. He was determined to make her Halloween special.
The next day, Kevin gathered every decoration he could find—twinkling lights, plastic spiders, and his favorite carved pumpkin. It was special to him, but if it could make Mrs. Kimbly smile, he was willing to part with it.
He loaded everything into a wagon and headed back to her house. Kevin worked quickly, hanging lights and placing pumpkins on her porch. The house was starting to come alive with Halloween spirit. Just as he finished arranging the last pumpkin, the door flew open.
“What do you think you’re doing?” Mrs. Kimbly stormed out, her face red with anger. “I told you not to decorate my house!”
Kevin froze, his heart pounding. “I just wanted to help,” he said softly. “It’s Halloween…”
Before he could say more, Mrs. Kimbly grabbed the nearest pumpkin—the one Kevin had spent hours carving—and smashed it on the ground. It shattered into pieces across the porch.
Kevin blinked back tears as he stared at the ruined pumpkin. He had worked so hard on it, and now it was gone. Without a word, he turned and ran home.
That night, dressed in his vampire costume, Kevin couldn’t enjoy Halloween. As he wandered from house to house with his friends, collecting candy, his thoughts kept returning to Mrs. Kimbly’s dark house. He knew the other kids might target her home for pranks, and he didn’t want that to happen.
Determined to stop any trouble, Kevin made his way back to her house. He sat on her porch, handing out candy from his own bag to passing trick-or-treaters, explaining, “Mrs. Kimbly’s not home.” He wasn’t sure how long he had been sitting there when the front door opened.
Startled, Kevin looked up to see Mrs. Kimbly standing in the doorway. Her face wasn’t angry anymore. “What are you doing here, Kevin?” she asked softly.
“I didn’t want anyone to mess with your house,” he explained. “I thought maybe I could help.”
Mrs. Kimbly sighed and sat down beside him. “I’m sorry for earlier,” she said quietly. “Halloween is hard for me. I don’t have any family, and seeing everyone else celebrate just makes me feel… alone.”
Kevin’s heart ached. “You don’t have to be alone,” he said. “You can celebrate with us. We’d love to have you join in.”
A small smile crept across Mrs. Kimbly’s face. “You’re a kind boy, Kevin. Thank you for what you did. And I’m sorry about your pumpkin.”
“It’s okay,” Kevin said, smiling back. “I have another one at home. We can carve it together if you want.”
Mrs. Kimbly chuckled softly. As Kevin ran home to grab the pumpkin, Mrs. Kimbly felt something she hadn’t felt in years—the warmth of Halloween spirit, all thanks to a boy who refused to give up.
What do you think of this story? Share it with your friends—it might brighten their day too.


Leave a Reply